Setting Up a Shopify App: Updating Customer Orders with Tracking Info
Today, we are wrapping up our adventure! Last time we learned about retrieving fulfillment IDs, but this time, we encounter the final boss: updating customer orders with tracking information.
Now, if we have any new adventurers with us, I recommend heading over here to prep yourself for the encounter ahead. If you just need a recap of our last session, you can head over here. Alternatively, if you just want the code from last time that can be found here. If you want to skip ahead and look at the code it can be found here. With that all said we’re off to battle with updating customer orders with tracking information!
Order Updates
We’re gonna start by heading over to our `app/routes/app.index.jsx` file, and grabbing the code found in the loader function. We’ll be moving that to our action function so we can add our post call.
We’ll completely replace the existing action function code, and because of that, we need to make a couple of tweaks to the code base. We’re going to remove anything that has a reference to `actionData?.product` or `productId`.
Now what we need to add the call admin.rest.resources.Fulfillment, which will allow us to update customer orders with tracking information. We’ll be placing it under our fulfillment ID loop. Here is a general example of what that call will look like.
const fulfillment = new admin.rest.resources.Fulfillment({
  session: session,});
This is a good start as we now have our fulfillment information and get to add a few things to it. We’ll start off by adding our fulfillment ID and then our fulfillment tracking info.
fulfillment.line_items_by_fulfillment_order = [
  {
    Fulfillment_order_id: <insert fulfillment id>,
  },];
fulfillment.tracking_info = {
  company: <insert tracking company name>,
  number: <insert tracking number>,};
Awesome! Now we have given the fulfillment ID and tracking info we need to the fulfillment object, but we need to do one more thing for that to update.
Thankfully, it’s a small thing and that’s to save it.
await fulfillment.save({
  update: true,});
Now, the above will work wonderfully for a single order, but based on our prior adventurers, we had multiple ids for orders that needed to be completed. So our next step is to loop over our fulfillment object. Though before we do that, here is what the current code should look like:
const fulfillment = new admin.rest.resources.Fulfillment({
  session: session,});
fulfillment.line_items_by_fulfillment_order = [
  {
    Fulfillment_order_id: <insert fulfillment id>,
  },];
fulfillment.tracking_info = {
  company: <insert tracking company name>,
  number: <insert tracking number>,};await fulfillment.save({
  update: true,});
Before we go to loop over this, we’re going to add a small change to fulfillmentIds. We’re going to create a new variable and add the company and tracking number information. So above the fulfillment variable, we will add this:
const fulfillmentIdsComplete = fulfillmentIds.map((item) => {
  item.company = "USPS";
  item.trackingNumber = "1Z001985YW99744790";});
Perfect! Now for the looping, we’ll just wrap it in a for of loop:
for (const fulfillmentIdComplete of fulfillmentIdsComplete) {
  const fulfillment = new admin.rest.resources.Fulfillment({
    session: session,
  });
  fulfillment.line_items_by_fulfillment_order = [
    {
      Fulfillment_order_id: fulfillmentIdComplete.id,
    },
  ];
  fulfillment.tracking_info = {
    company: fulfillmentIdComplete.company,
    number: fulfillmentIdComplete.trackingNumber,
  };
  await fulfillment.save({
    update: true,
  });}
Now that the loop is set up, we will be able to go through all of the orders and update them with the shipping company and a tracking number. So we’ll run a yarn dev, and navigate to the app page by pressing the p button.
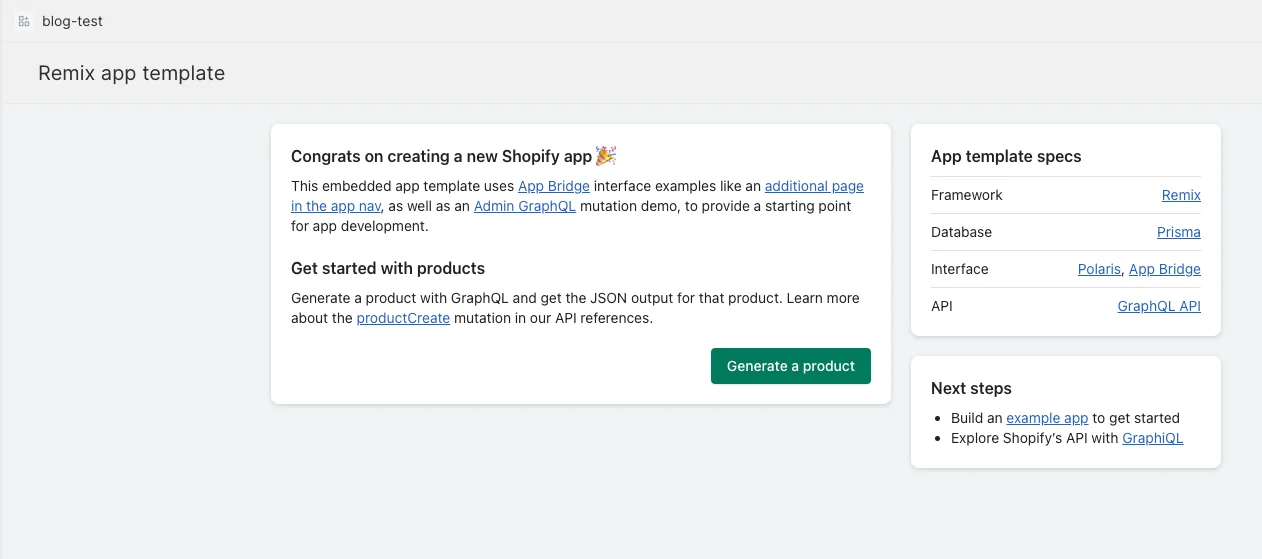
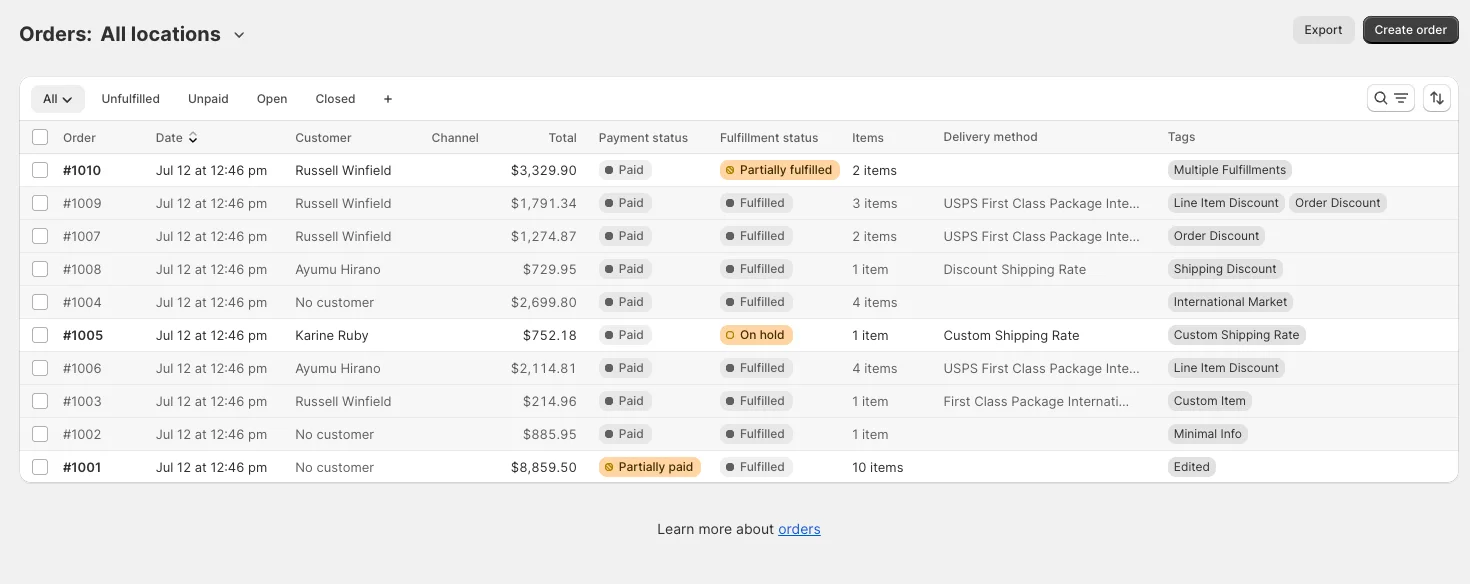
We should see our template page, and be able to click on the Generate a product button. Now we’ll navigate to our order page and we should see all open orders set to fulfilled.


Conclusion
Here we are. At the end of our three part saga, we covered a fair share of things in order to get our customer orders tracking information added, and can now take a long rest to rejuvenate.
I originally wrote this for This Dot Labs and the original post can be found here.