How to Integrate Mailchimp Forms in a React Project
Today we will cover how to set up an email signup form using React and Mailchimp. This blog will be using the starter.dev cra-rxjs-styled-components template to expedite the process. This article assumes you have a basic understanding of React, and have set up a Mailchimp account. Here is the code repo if you want to review it while reading, or just skip ahead. We will start with setting up our React project using Starter.dev for simplicity, and then finish it up by integrating the two for our signup form.
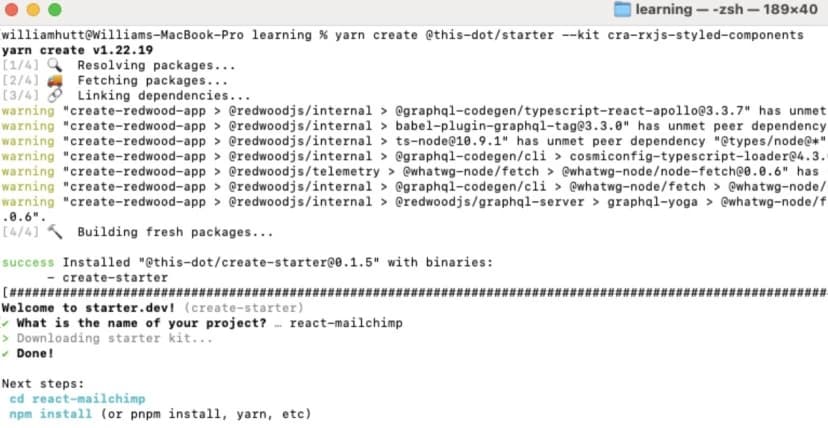
To start, we will be using the command yarn create @this-dot/starter --kit cra-rxjs-styled-components, which can be found here. We’ll go ahead, and give the project a name. I will be calling mine react-mailchimp.

Now we will navigate into the project and do a yarn install. Then we can run yarn run dev to get it up and running locally on localhost:3000. This should have us load up on the React App, RxJS, and styled-components Starter kit page.

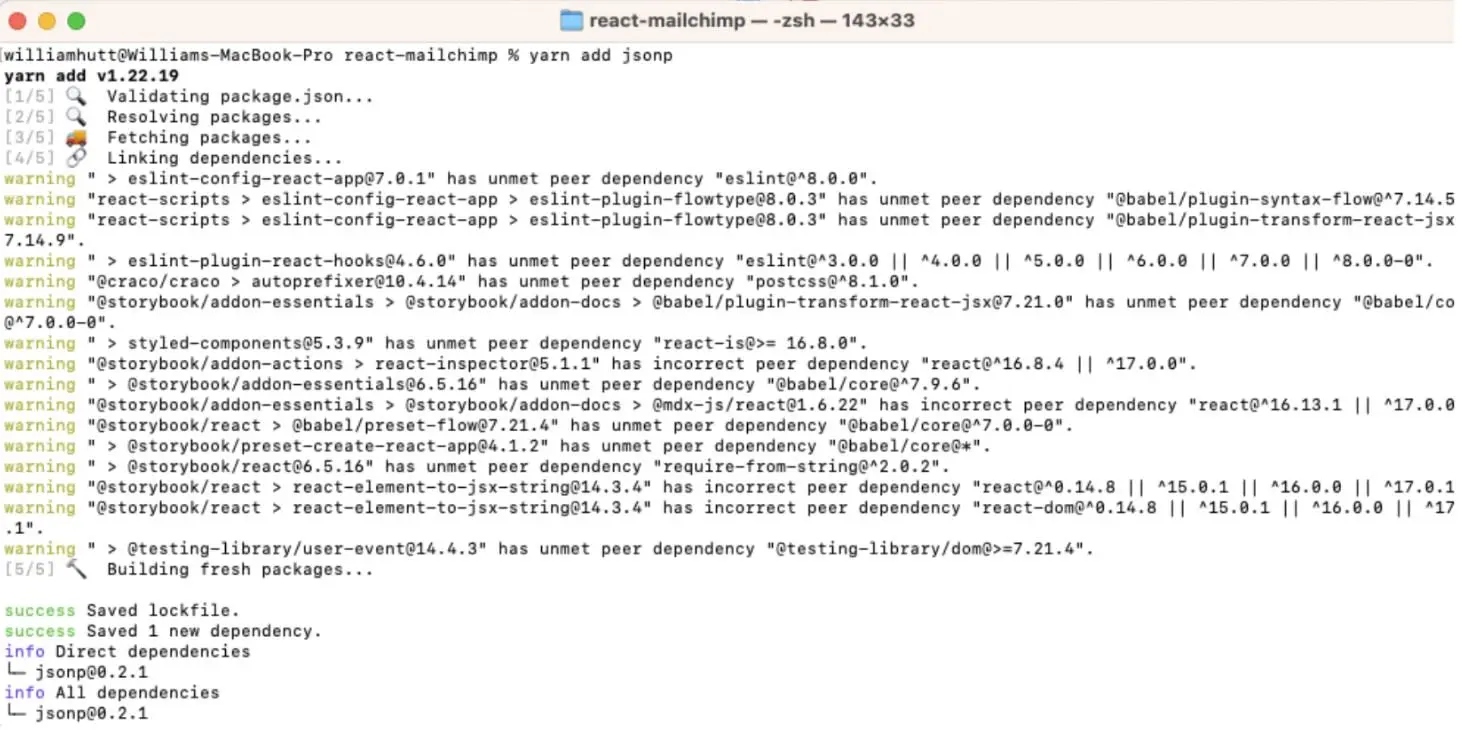
With that all set, we’ll also need to install jsonp by using `yarn add jsonp`. We’ll be using jsonp instead of fetch to avoid any CORS issues we may run into. This also makes for an easy and quick process by not relying on their API, which can’t be utilized by the client.

Now that we have our project set up, we will go ahead and go and grab our form action URL from MailChimp. This can be found by going to your Audience > Signup Forms > Embedded Forms > Continue and then grabbing the form action URL found in the Embedded Form Code. We need to make a small change to the URL and swap /post? with /post-json?.
We can now start setting up our form input, and our submit function. I will add a simple form input and follow it up, and a submit function. Inside the submit function, we will use our imported jsonp to invoke our action URL.
import { useState } from 'react';
import jsonp from 'jsonp';

export const MailChimp = () => {
 const [email, setEmail] = useState('');

 const onSubmit = (e: any) => {
   e.preventDefault();
   const url = 'insert-mailchimp-action-url-here';
   jsonp(`${url}&EMAIL=${email}`, { param: 'c' }, (_: any, data: any) => {
     console.log('data', data);
     const { msg } = data;

     alert(msg);
   });
 };

 return (
   <div>
     <form onSubmit={onSubmit}>
       <label>Email</label>
       <input
         type="email"
         name="EMAIL"
         required
         onChange={(e) => setEmail(e.target.value)}
       ></input>
       <button type="submit">Submit</button>
     </form>
   </div>
 );
};
We’ll also add a quick alert to let the user know that it was successful and that’s it! We’ve now successfully added the email to our MailChimp account.

Conclusion
Today, we covered how to integrate Mailchimp with a react app using the cra-rxjs-styled-components template from starter.dev. I highly recommend using starter.dev to get your project up and running quickly. Here is the code repo again for you to check out.
I originally wrote this for This Dot Labs and the original post can be found here.